Adze Hammer Refurbishment: A Comprehensive Guide
Restoring tools can be an incredibly satisfying and rewarding process. In this guide, we'll take you through the steps of refurbishing an adze hammer, detailing each phase of the project. From grinding down the hammer to treating the handle, this blog covers it all. Let's dive in!
🛠️ The adze hammer
The adze hammer, often a misunderstood tool, combines the functionalities of a hammer and an adze. This unique hybrid tool is designed for digging, shaping, and moving earth or other materials. Understanding its anatomy and purpose is crucial before embarking on a restoration journey. This guide will focus on refurbishing a rusty old adze hammer, turning it from an unused relic into a functional tool.
🔧 Starting to grind down and shape the adze hammer
The initial step in the refurbishment process is grinding down the hammer head. This is critical to remove rust and any imperfections that could affect performance. Using a bench grinder allows for precision while ensuring that the tool maintains its original shape. Pay close attention to the edges and ensure that the hammer’s striking surface is smooth for effective use.
✏️ Designing the handle
Designing the handle is an essential step in the refurbishing process. The handle must not only fit the user’s grip but also complement the hammer's design. Sketching out the handle design helps visualize the final product and ensures that it meets ergonomic standards. Consider the material as well; a burnt applewood handle adds both aesthetic appeal and durability.
🪚 Cutting the rough handle shape on the bandsaw
Once the design is finalized, it’s time to cut the rough shape of the handle using a bandsaw. This tool allows for intricate cuts and ensures that the handle can be shaped to fit comfortably in the hand. Remember to wear appropriate safety gear during this process. After cutting, you should have a rough outline that will be refined in the next steps.
🪣 Belt sanding
Belt sanding is the next step to refine the shape of the handle. This process helps smooth out any rough edges left from the bandsaw and creates a comfortable grip. Use a variety of grits to achieve a polished finish. Start with a coarser grit and gradually move to finer grits to ensure a smooth surface.
👐 Hand sanding
After belt sanding, hand sanding is crucial for achieving a perfect finish. This step allows for greater control over the shape and helps reach areas that the belt sander may have missed. Use fine-grit sandpaper and take your time to ensure the handle feels great in your hand.
🔍 Quick check in!
After all the sanding, it’s important to take a moment to evaluate the work done so far. This quick check-in allows you to assess the handle's shape and comfort level. Make any necessary adjustments before proceeding to ensure the handle will be effective when in use.
🔩 Fitting the handle (and more sanding)
Fitting the handle to the hammer head is a critical step. Ensure that it fits snugly to avoid any movement during use. Additional sanding might be necessary to achieve a perfect fit. This step ensures that the hammer is balanced and comfortable to wield.
🔪 Cutting the kerf for the wedge
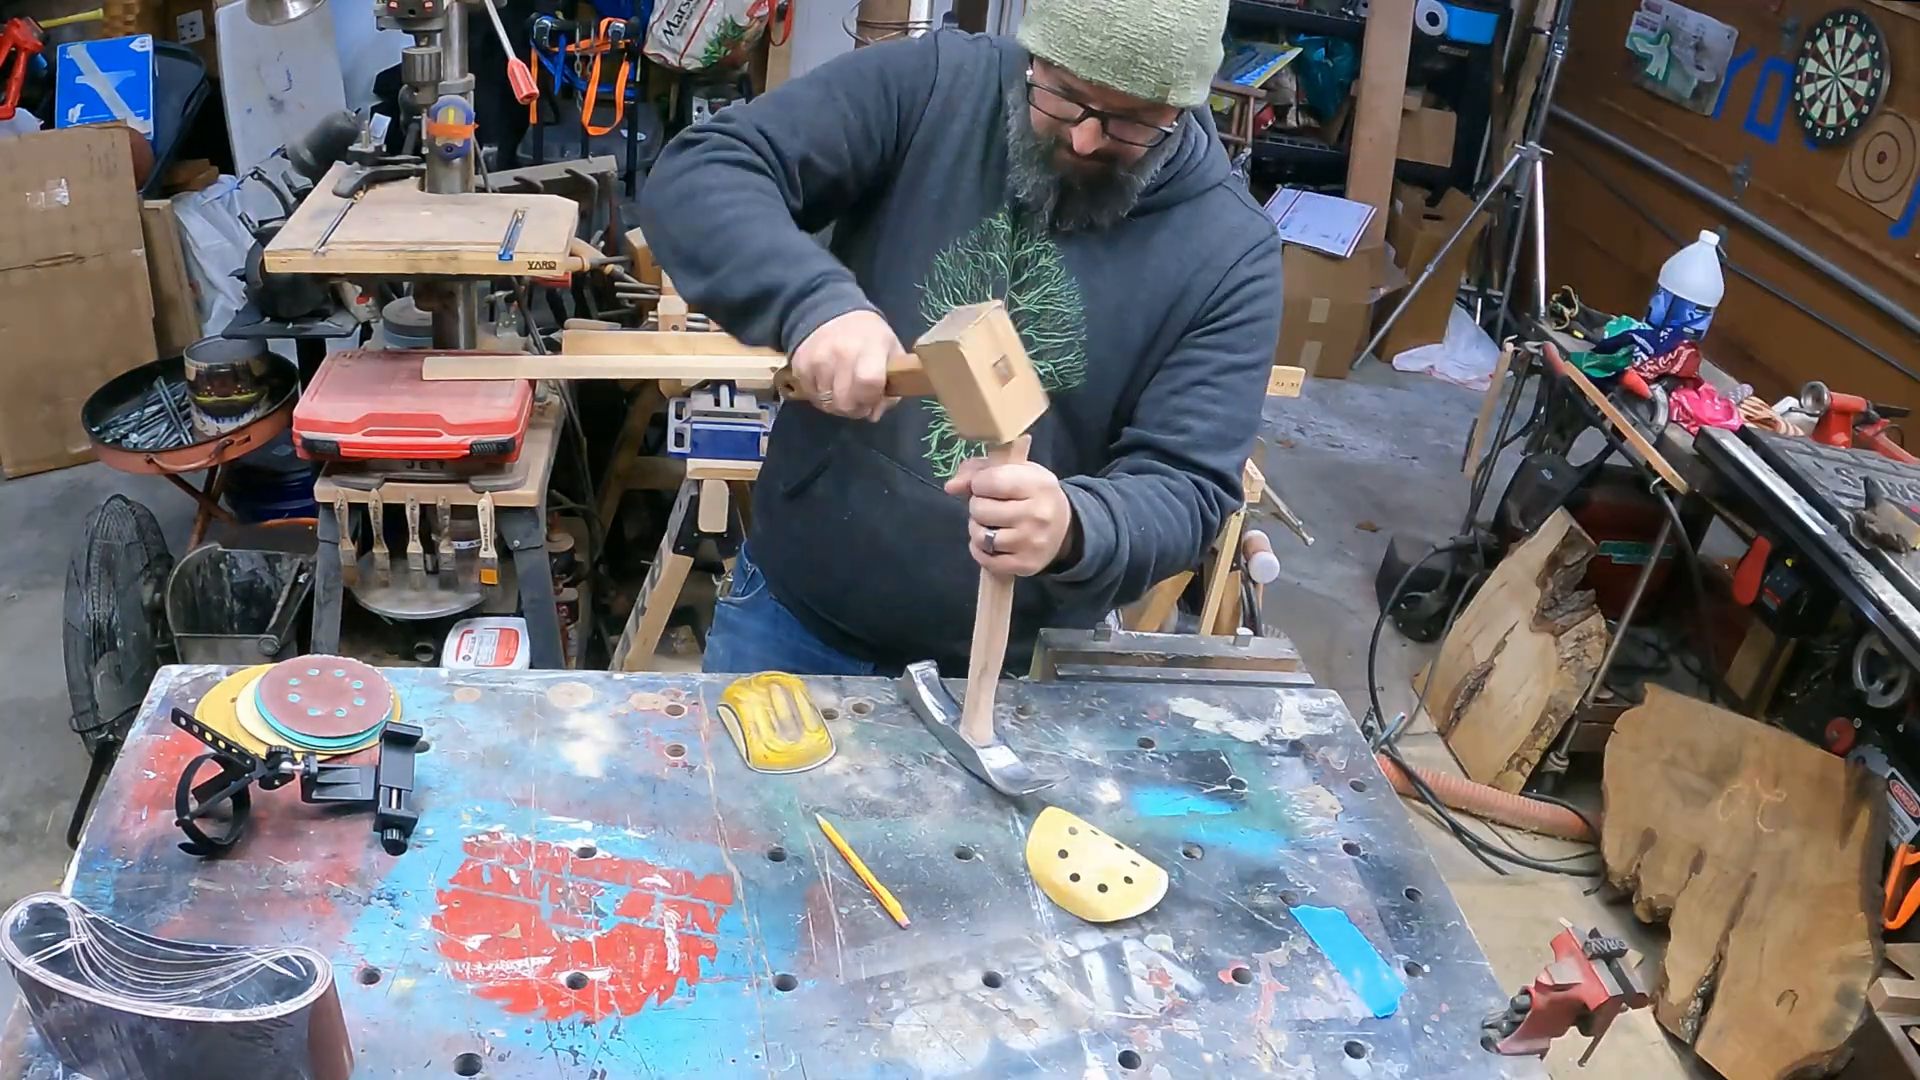
Next, you will need to cut the kerf for the wedge, which will secure the handle to the hammer head. This cut must be precise to ensure a tight fit. A well-cut kerf will keep the handle firmly in place during use, preventing any accidents.
🧪 Epoxying in the handle
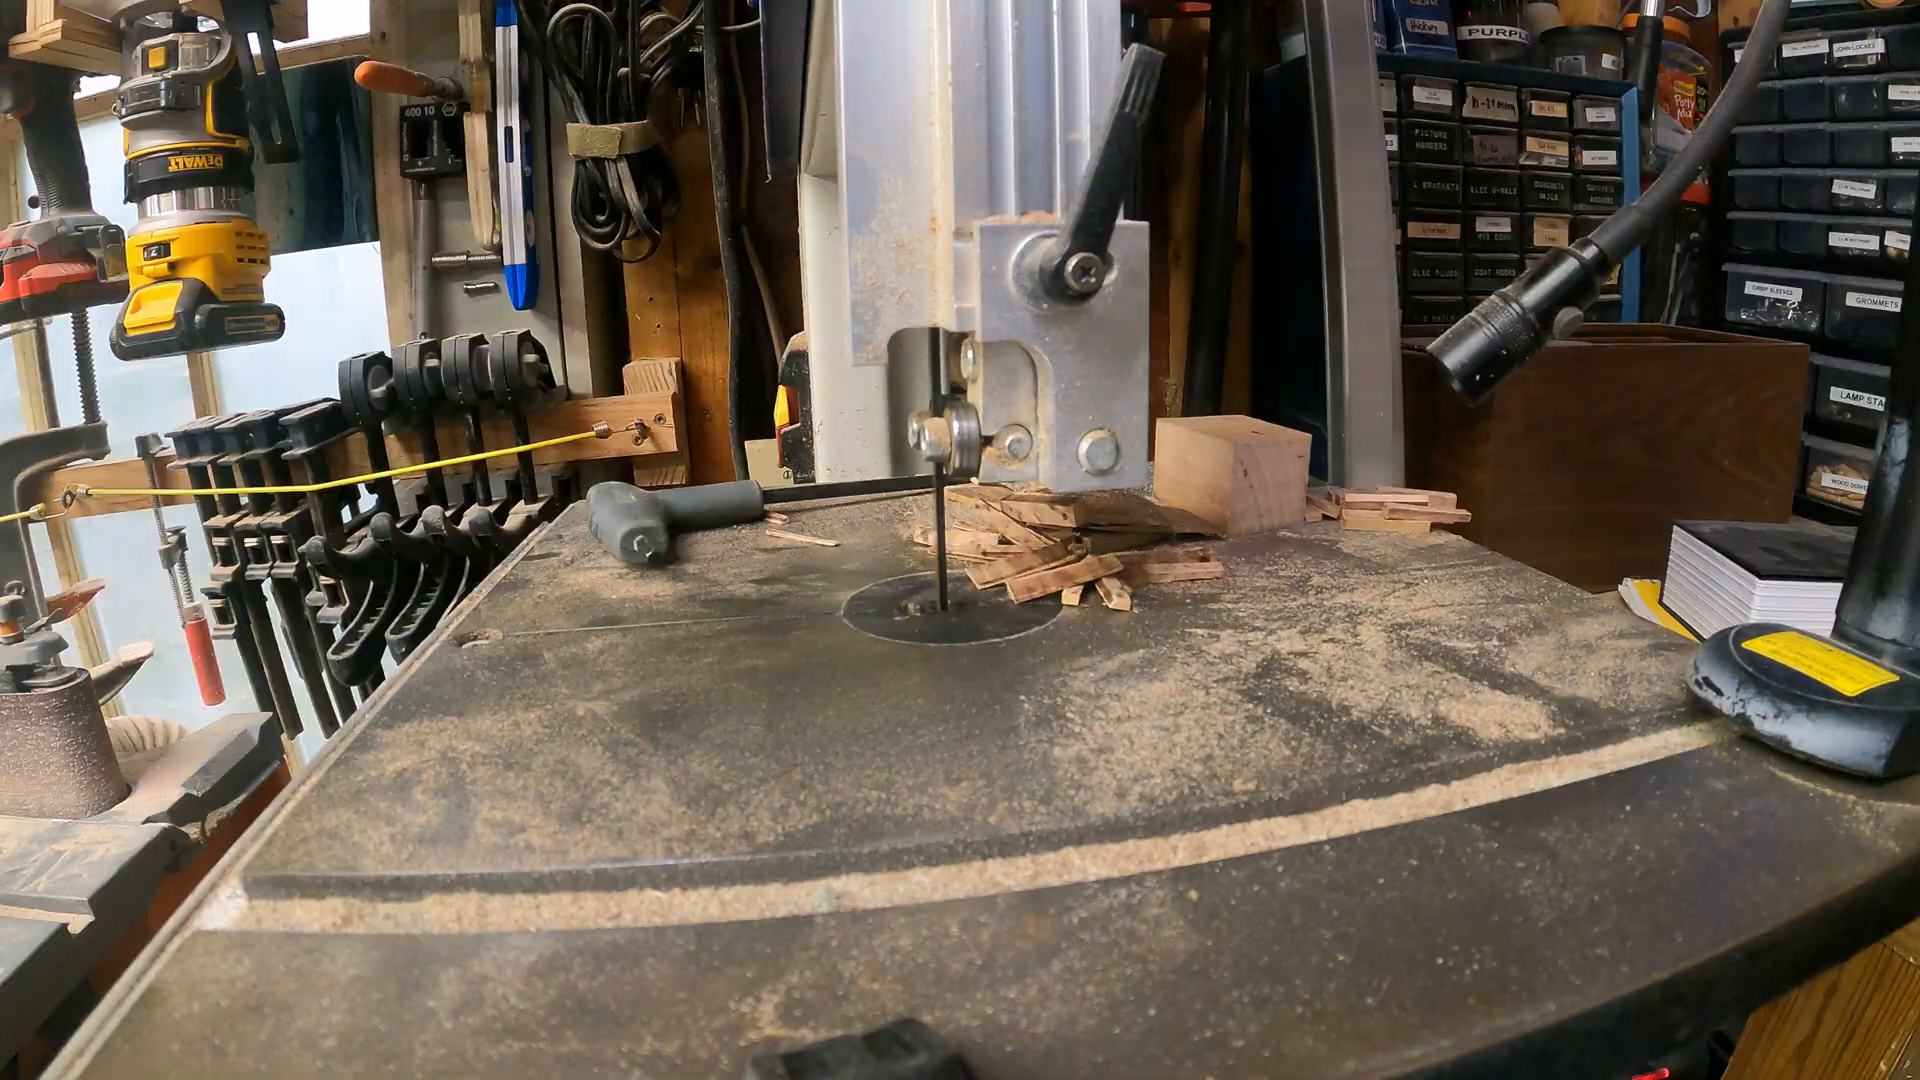
Applying epoxy is essential for bonding the handle to the hammer head. Use a high-quality epoxy for durability. Ensure that you apply it evenly and allow sufficient time for it to cure. This step adds to the longevity of the tool and ensures it can withstand rigorous use.
🔩 Inserting the wedge
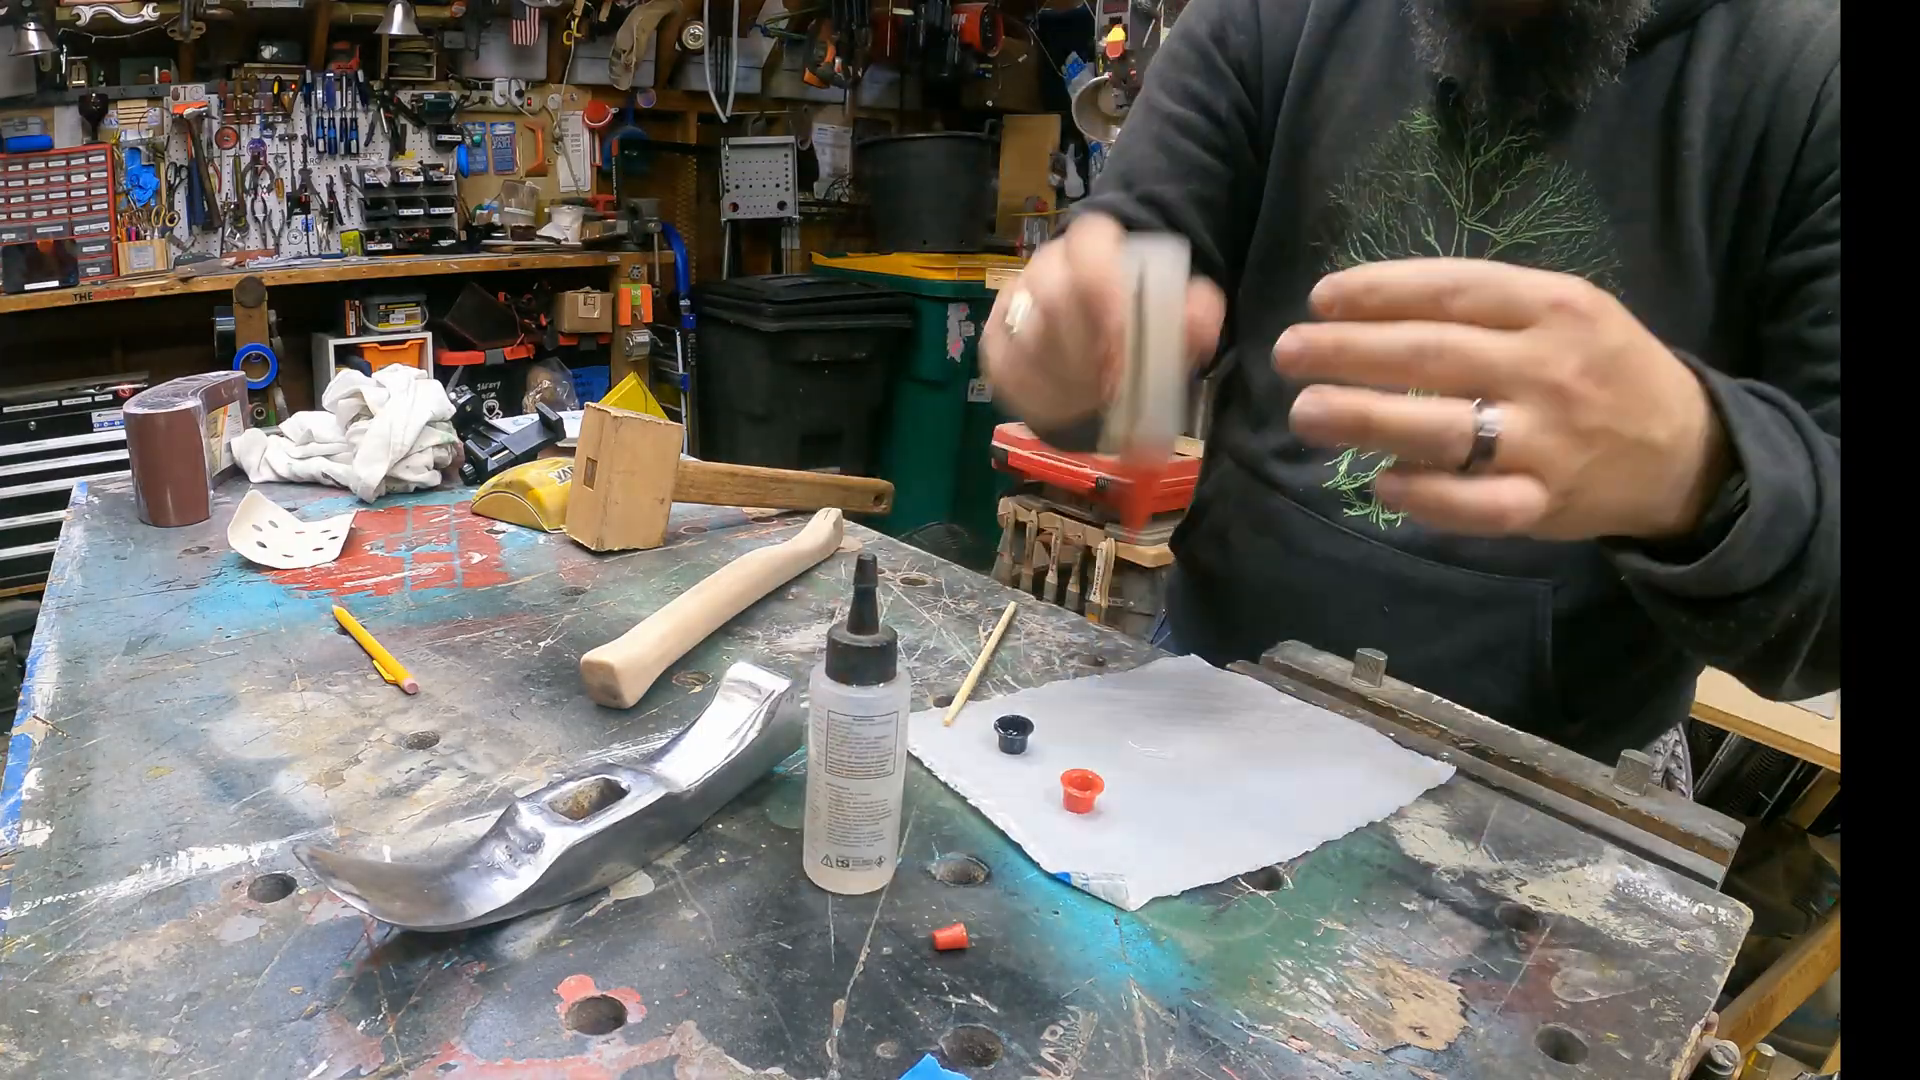
Once the epoxy has set, it's time to insert the wedge into the kerf. This will further secure the handle to the hammer head. Make sure the wedge is driven in tightly to prevent any movement. Test the fit before finalizing this step.
🧼 Cleaning up the epoxy
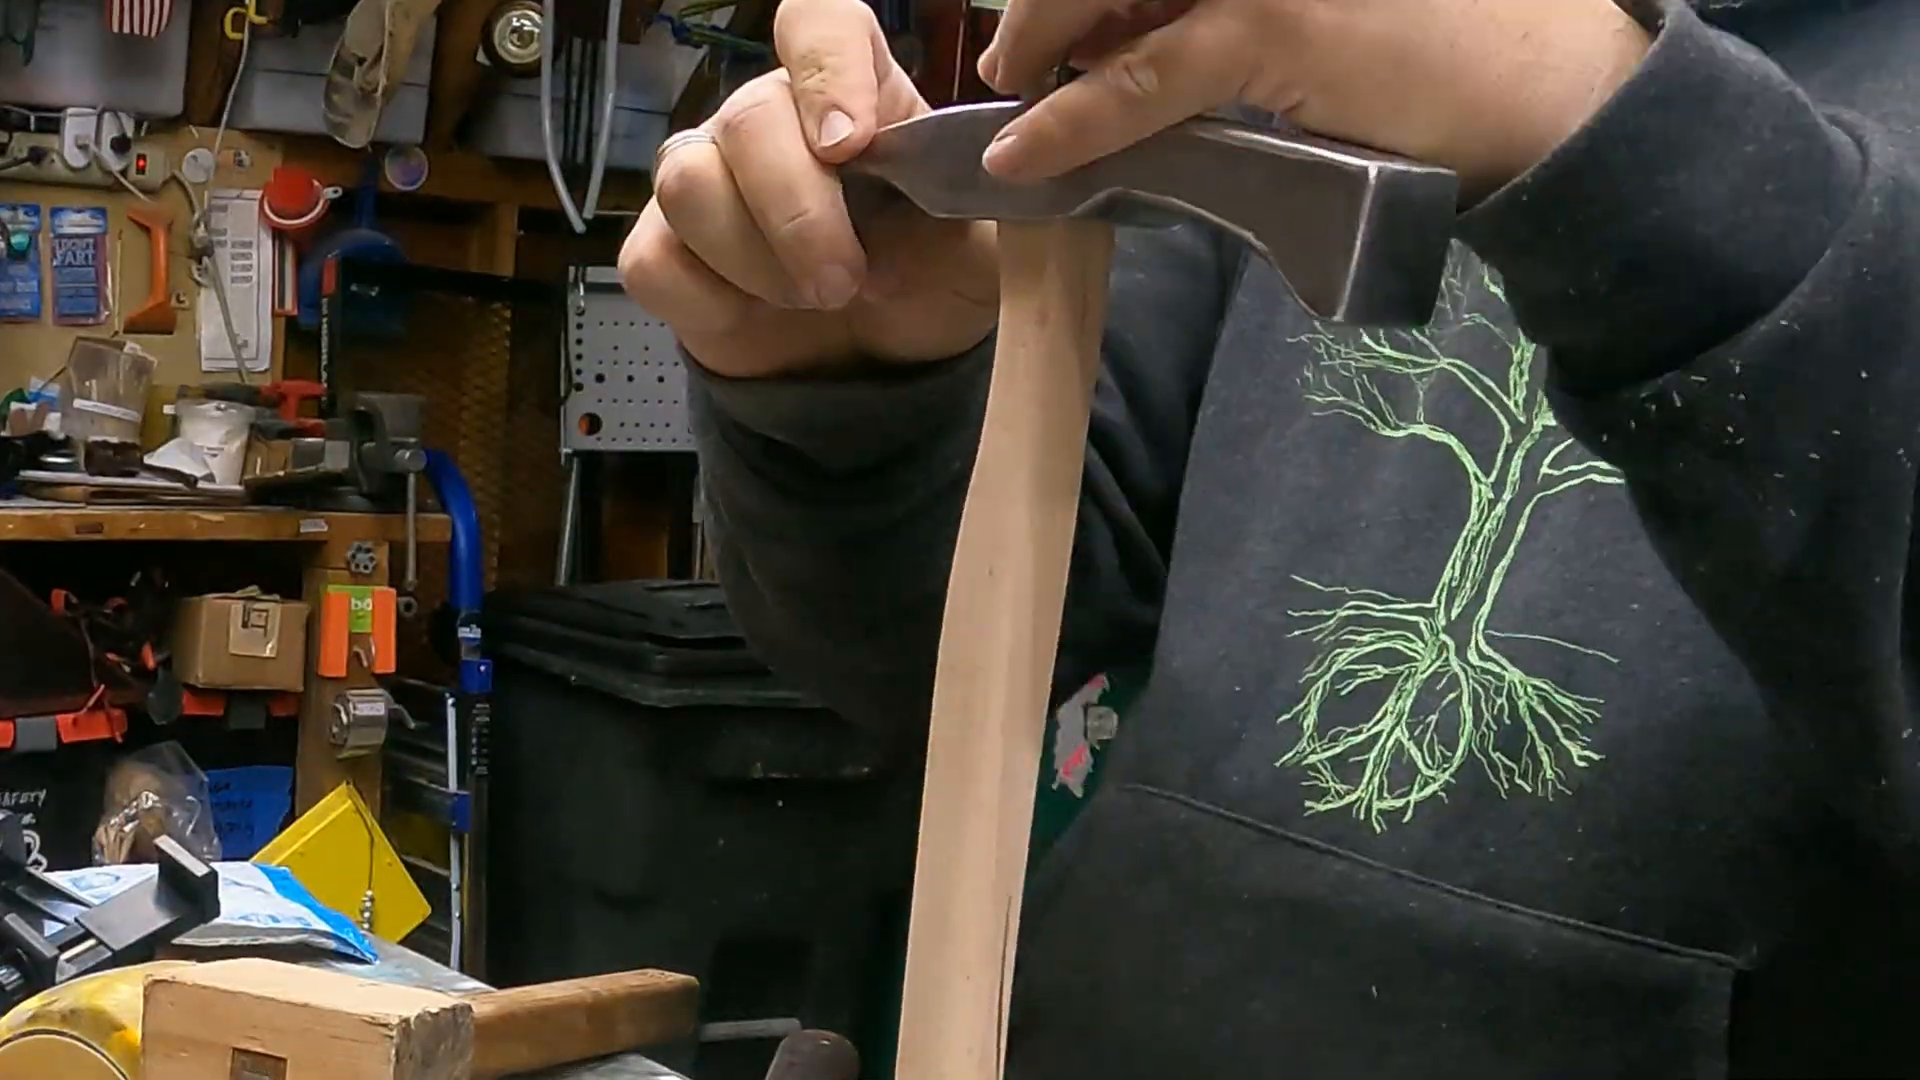
After the epoxy has cured, it's important to clean up any excess that may have squeezed out during the bonding process. Use a chisel or a scraper to remove any unwanted epoxy. This will ensure a clean finish and prevent any rough spots on the handle.
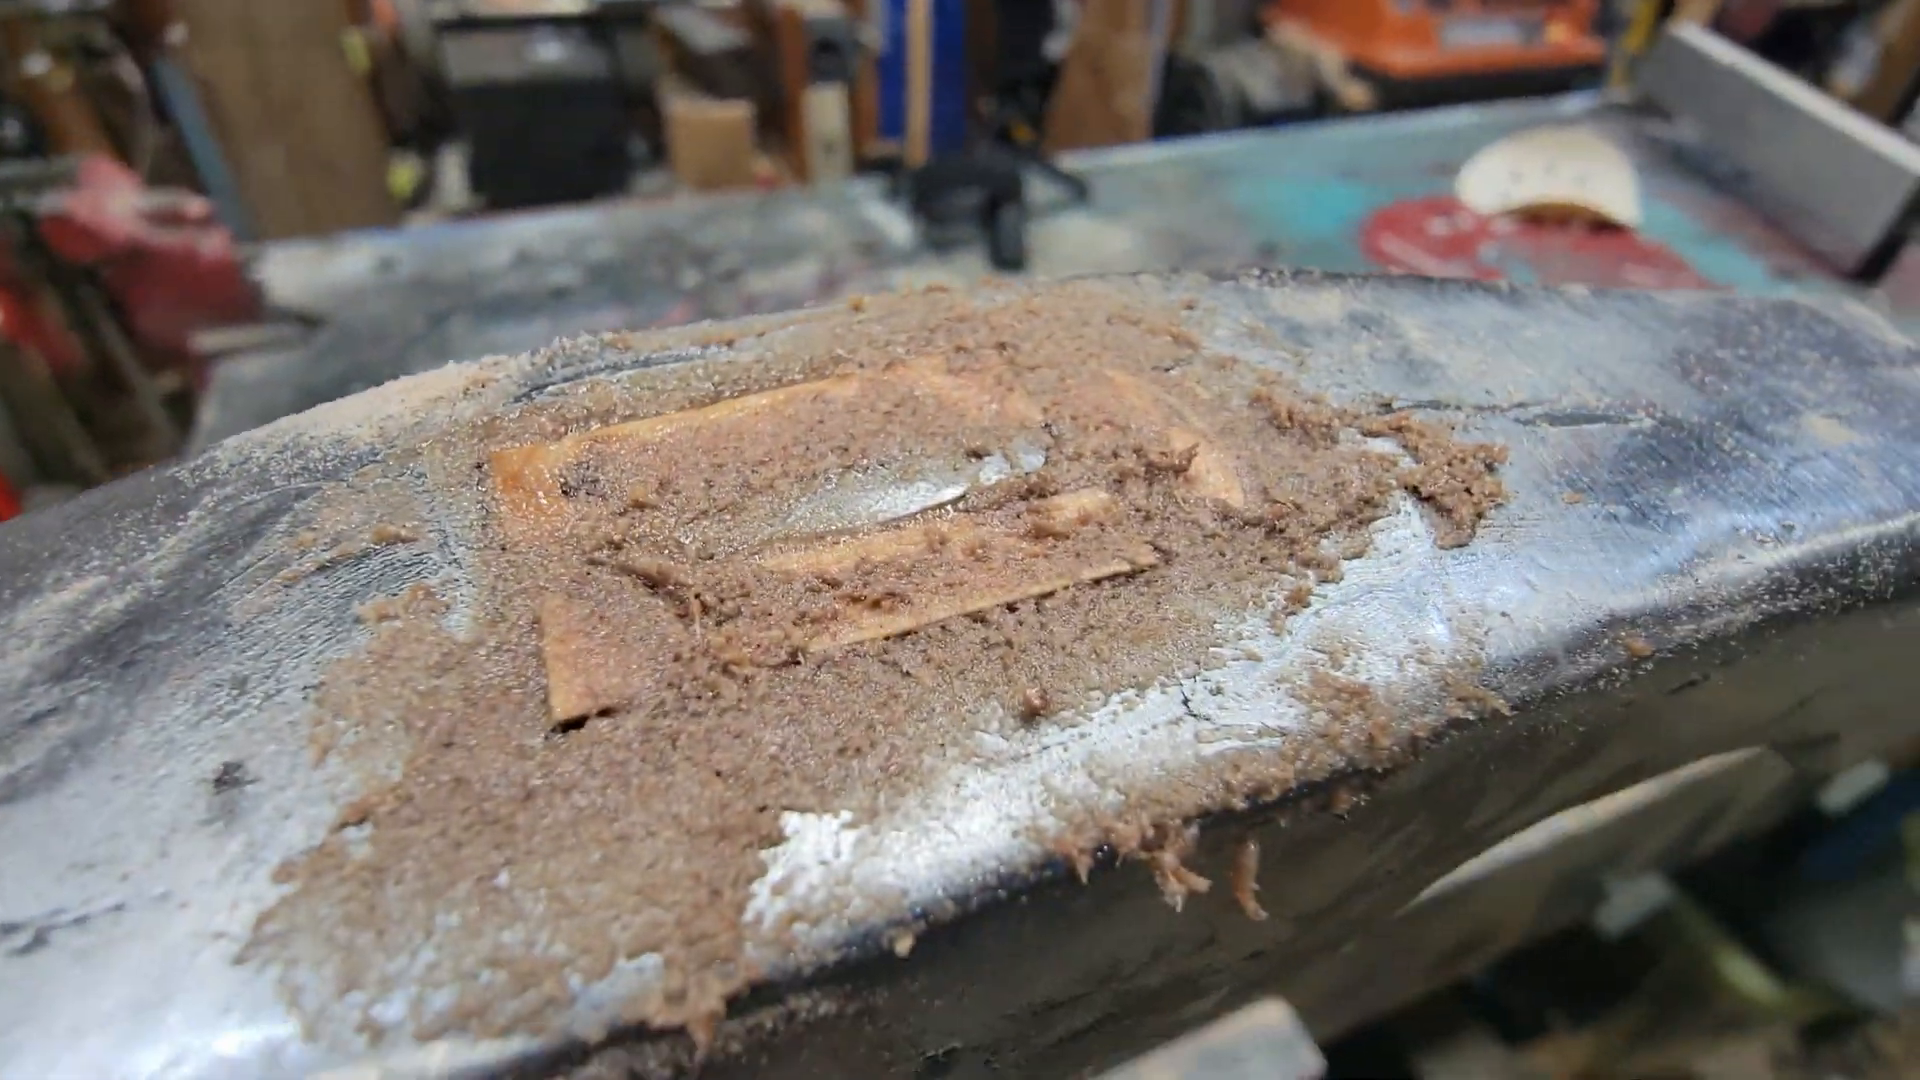
🔥 Burning the handle
Burning the handle can add a unique aesthetic to your tool while also providing a layer of protection. This technique enhances the wood grain and gives it a rustic look. Be careful with this step, as too much heat can damage the wood. A gentle burn will suffice.
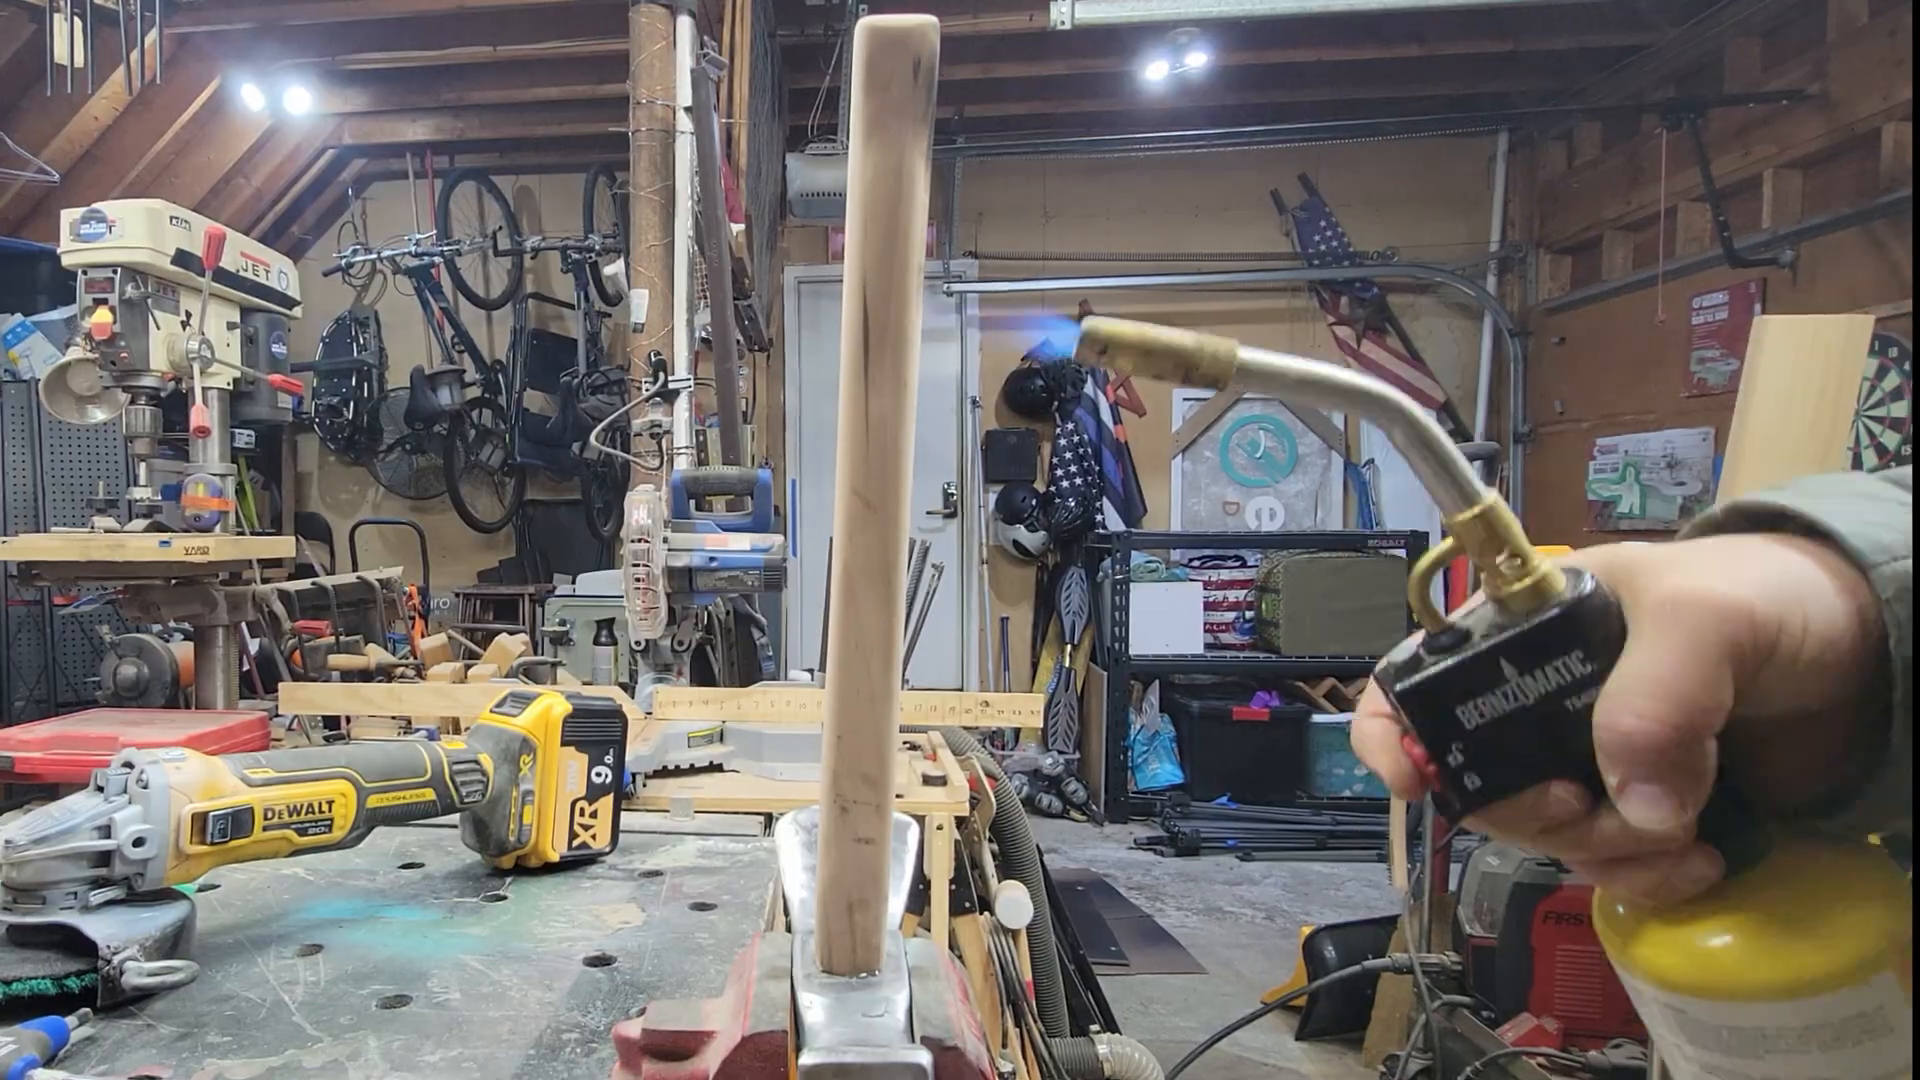
🌲 Treating the handle with pine tar
To finish off the handle, treating it with pine tar provides excellent protection against moisture and wear. This treatment not only enhances the appearance but also ensures the longevity of the wood. Apply it evenly and allow it to soak in for the best results.
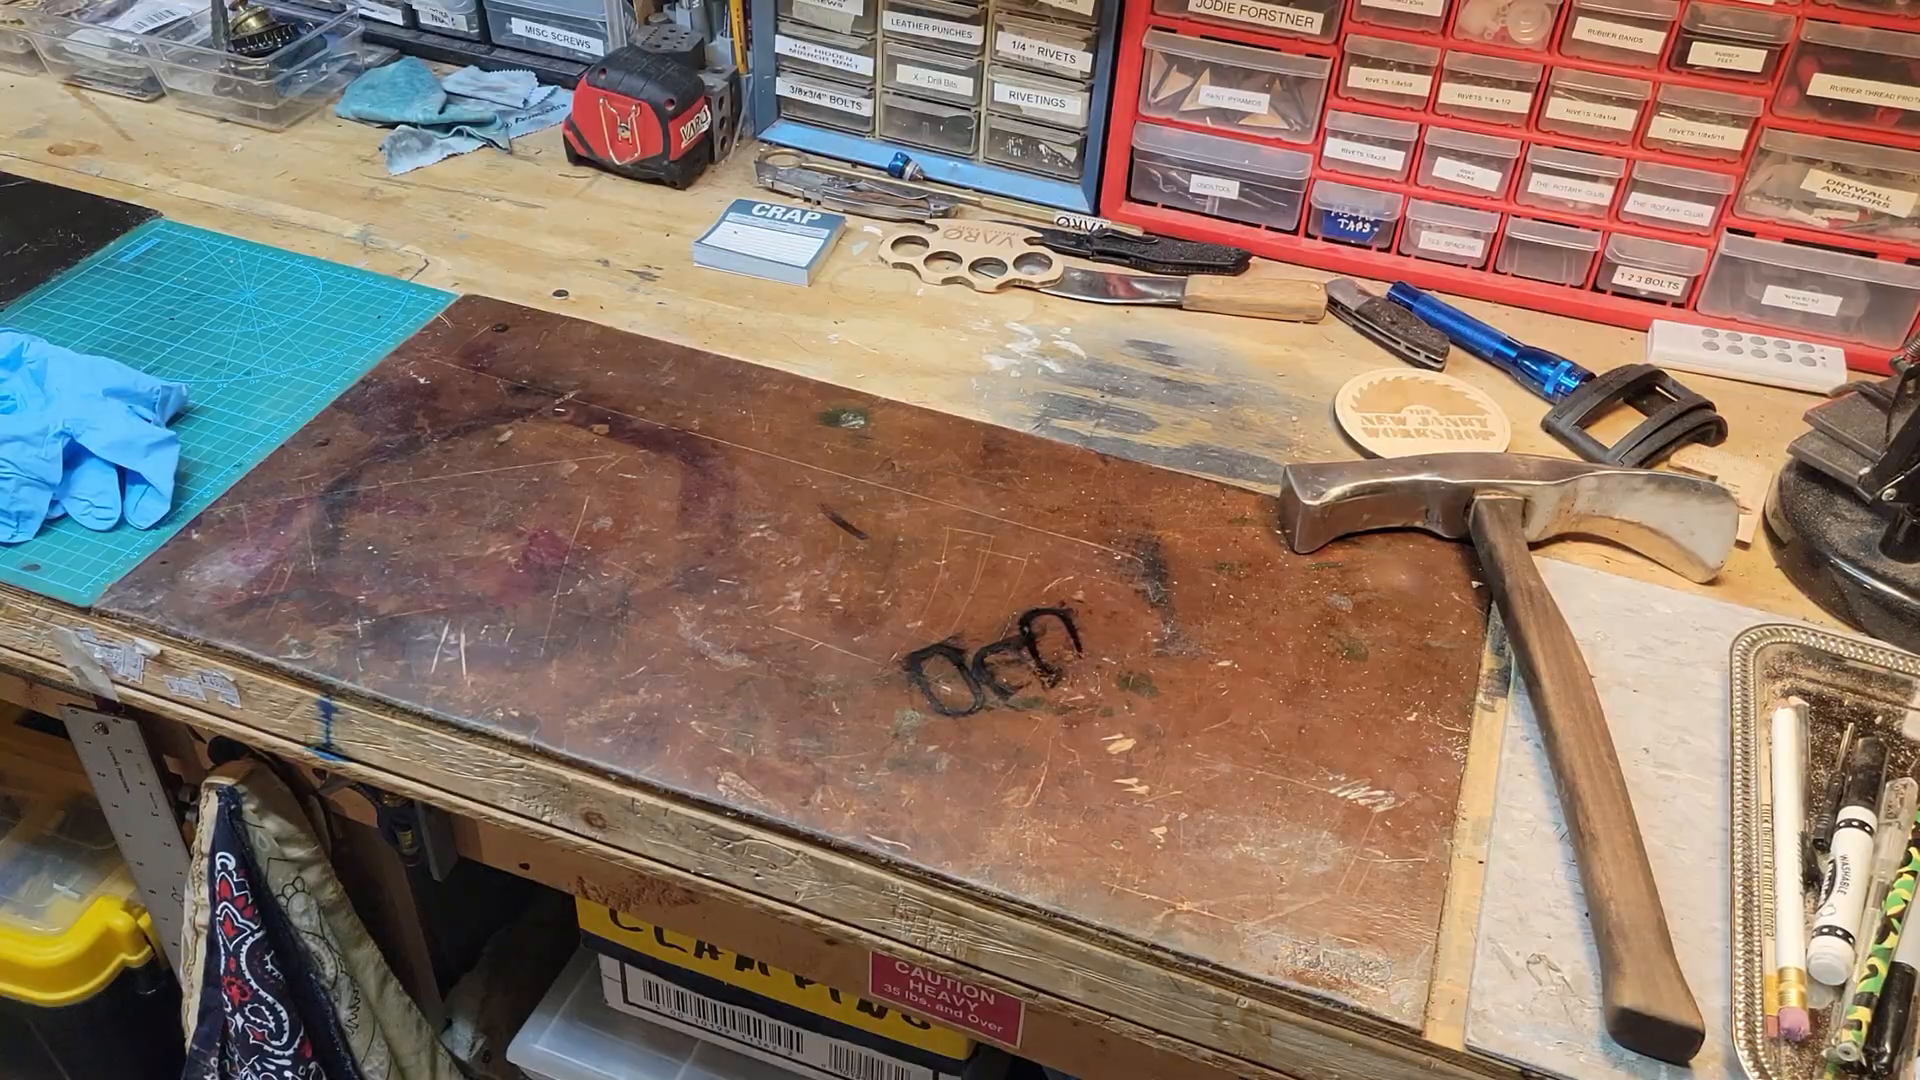
🎉 The reveal
After all the hard work, it's time for the reveal! The refurbished adze hammer should now look as good as new, ready to tackle any project. Take a moment to appreciate the transformation and the craftsmanship that went into the restoration.
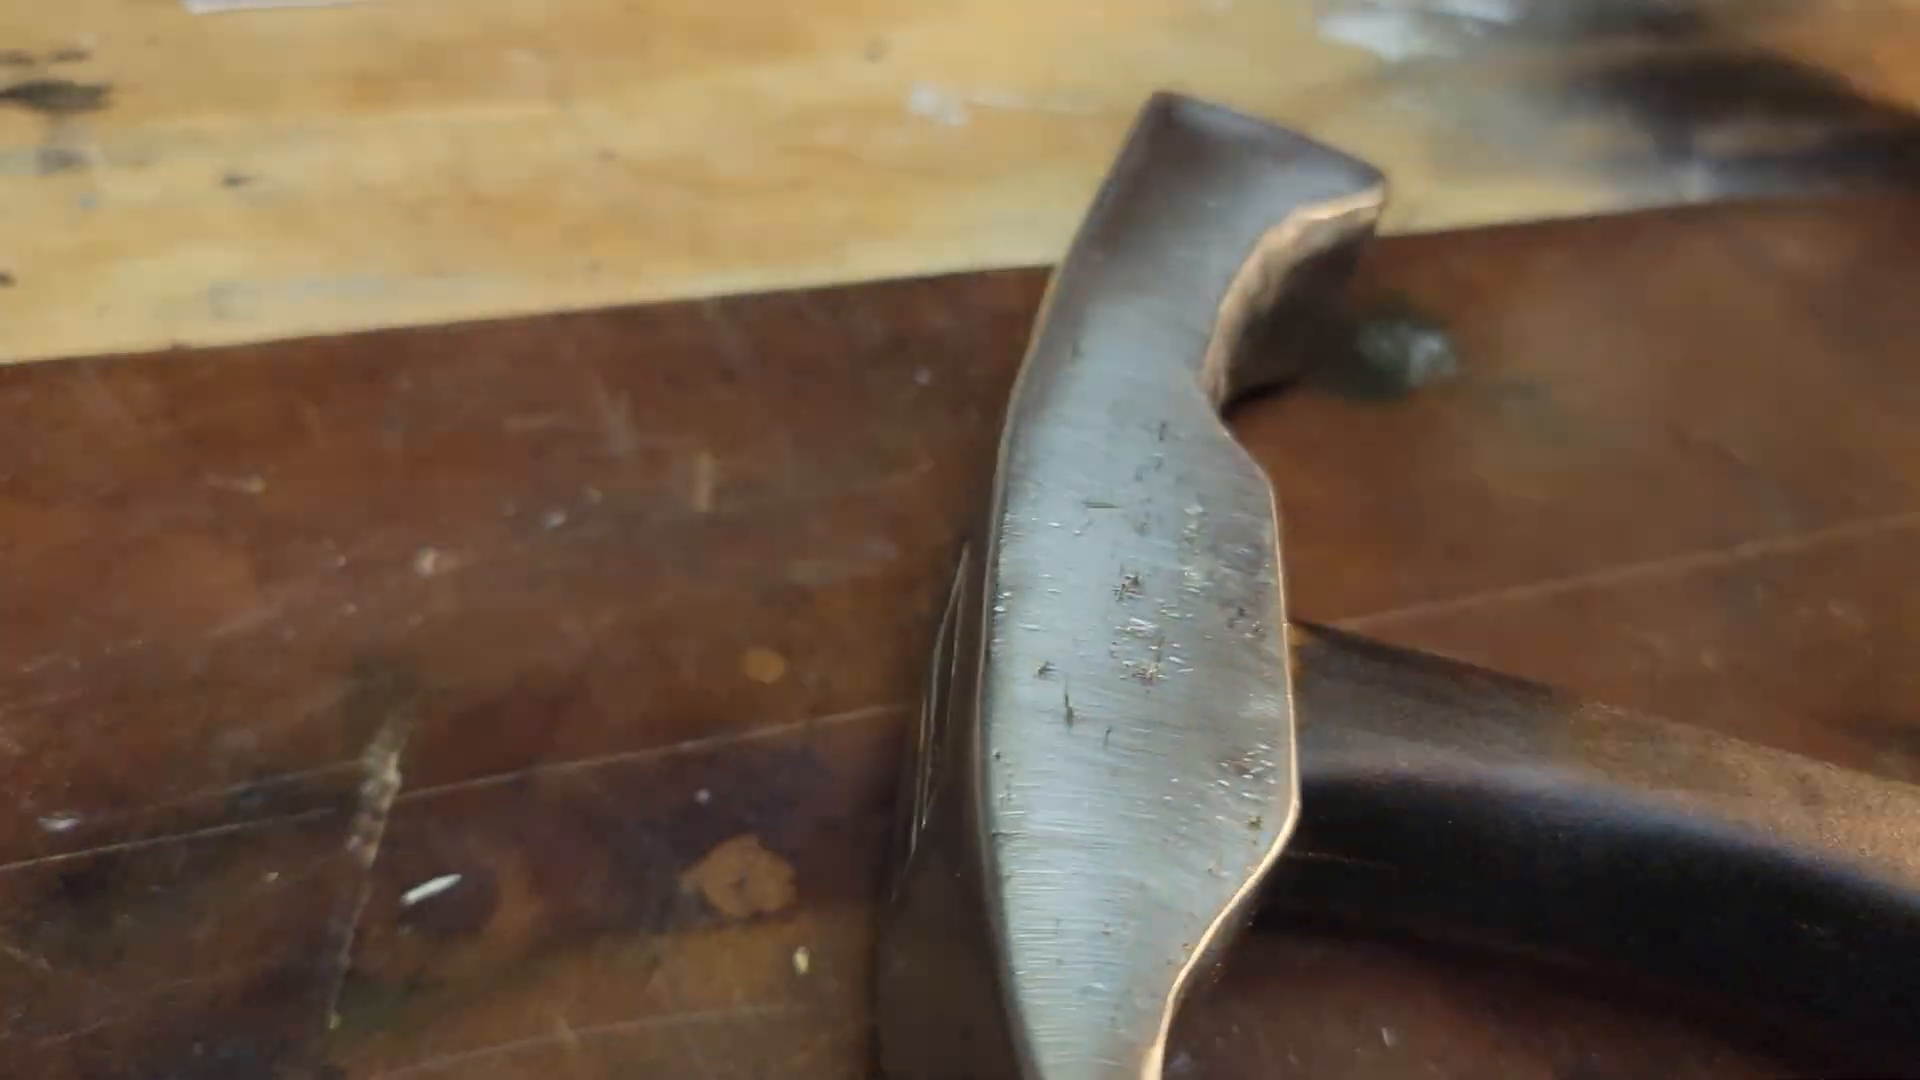
🚪 Closing out...
In conclusion, refurbishing an adze hammer is a fulfilling project that brings a tool back to life. Each step in the process adds value and functionality, ensuring that the tool can be used effectively for years to come. Don't forget to share your thoughts and experiences in the comments!
❓ FAQ
- What is an adze hammer? An adze hammer is a hybrid tool that combines features of a hammer and an adze, used primarily for digging and shaping materials.
- What materials are best for the handle? Wood, particularly hardwoods like applewood, is often preferred for its strength and aesthetic appeal.
- How do I maintain my refurbished adze hammer? Regular cleaning and reapplication of protective treatments like pine tar will help maintain the tool's condition.
- Can I use other types of wood for the handle? Yes, other woods can be used, but ensure they are durable and suitable for tool handles.
- Where can I find more restoration videos? Check out the restoration playlist [here](https://www.youtube.com/playlist?list=PLSkvrm-RbSKHL-An0mN4BK31DMsVyP2s4) for more projects!
For more tools and supplies used in this project, check out the kit [here].
To support more projects and updates, consider following [The New Janky Workshop].

